After I was first requested to jot down a weblog put up on sculpting with PureBronze Matte Bronzer, I used to be a bit apprehensive. I’d by no means totally mastered contouring as a talent, having spent years making an attempt to form my spherical, pale face with bronzers that have been all the time too orange for my pores and skin tone.
Fortunately, I knew the individual to show to for professional steering: Shawn, our Director of Artistry and Training, who graciously provided to present me a tutorial on the best way to create a pure sculpted look.
The Lesson

When sculpting the face, Shawn recommends highlighting first after which contouring, as that makes it simpler to inform the place you might want to add definition. To focus on, select a shade that may be a few shades lighter than the pores and skin tone or use a product that has luminosity to create an identical lifted impact.
As soon as the highlighter is mixed, apply the contour with a contour brush to the areas of the face you wish to draw again. Widespread bronzer placement areas embrace: alongside the hairline, within the hollows of the cheeks, alongside the nostril and alongside the jawline. Professional tip: When sculpting the jaw line, bear in mind to start behind the ear so there’s not an apparent line the place the contour begins.
Then, once you’ve achieved the specified stage of sculpting, the important thing to creating all of it look pure is to mix every thing. Totally. Hold the areas which might be nearer to the hairline darker and steadily mix the colour out extra together with your contour brush as you progress in direction of the center of the face.
Make-up

To prepared my face for make-up, I prime my pores and skin with Easy Affair® Brightening Face Primer. Subsequent, I dot Glow Time Professional™ BB Cream in GT1 on my cheeks, brow, chin and nostril and shortly mix it in with the Mixing/Contouring Brush. (I discover a bit of this product goes a good distance and it dries down shortly so it’s key to begin mixing ASAP.)
In relation to highlighters, I prefer to go luminous vs matte so I add some Lively Gentle® Beneath-eye Concealer in 1 to the excessive factors of my face, mixing it in with the Mixing/Contouring Brush. For additional glow, I prime it off with the Glow Time® Highlighter Stick in Solstice.
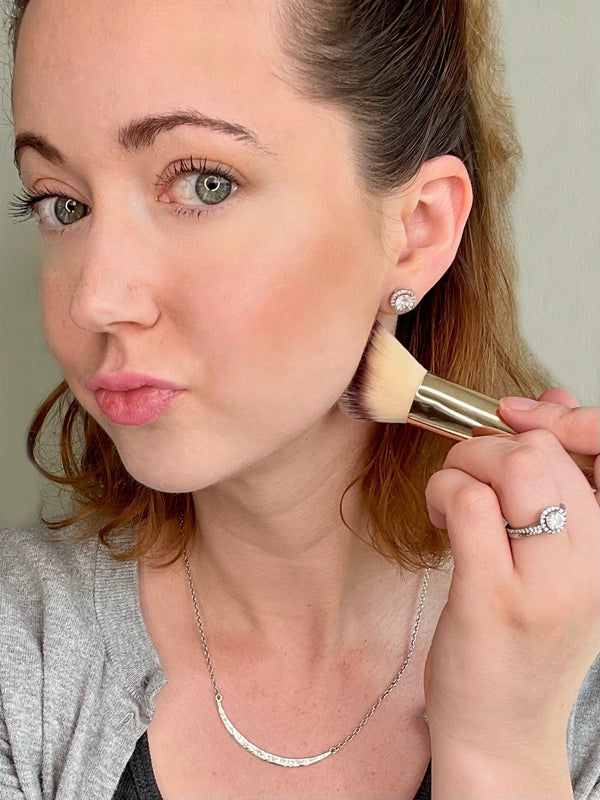
I sweep PureBronze Matte Bronzer in Gentle(Shawn’s suggestion because it’s not an excessively warm-toned bronzer), beneath my cheekbones round my brow and below my jawline, mixing with the Mixing/Contouring Brush.
Since I’ve a rounder face, I skip including blush to the apples of my cheeks and as a substitute apply Glow Time® Blush Stick in Balmy from my temple, alongside the highest of the cheek bone to the middle of my cheek.
I add PureBrow® Precision Pencil in Darkish Brown to my eyebrows for definition, sweep the shimmery rose gold shade from the Ravishing PurePressed® Eye Shadow Trio throughout my eyelids and lengthen my lashes with Longest Lash® Thickening and Lengthening Mascara in Black Ice.
I end the look with a swipe of our NEW ColorLuxe Hydrating Cream Lipstick in Sorbet for a delicate trace of coral.
Trying within the mirror, I’m pleasantly shocked to see that my face does look sculpted and lifted in a pure manner. I additionally don’t look orange. (Huge shoutout to Shawn and his Sculpting 101 Contour Information.)